Crochet Lafitte Rose Pattern: Free Step-by-Step
This guide organizes the supplied instructions for the petal strip, leaves, flower base, and stem assembly while keeping the stated counts and measurements intact. A few directions need clarification before crocheting; those points are flagged rather than guessed. The images are AI-generated illustrations, not photographs of a tested sample.
The directions use US crochet terms. The rose is assembled with hot melt adhesive and floral tape. The pattern does not provide a stitch gauge or yarn quantities, and several sequences are unclear. Read the notes beside those steps before starting.
Materials and tools
Gather the following items:
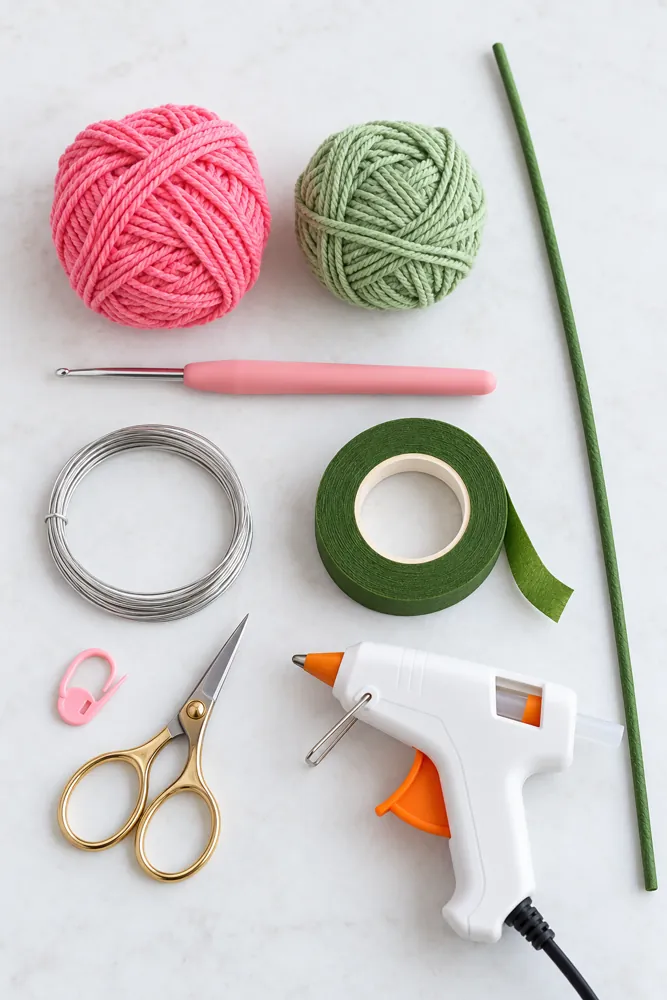
- 4-ply combed cotton yarn in green shade 10 and red shade 61. The yarn brand and required quantity are not specified here.
- 2.3 mm crochet hook
- 35 cm No. 3 flower rod
- 0.4 mm iron wire
- Hot melt adhesive
- Stitch marker
- Scissors
- Floral tape for the stem; it is mentioned in the assembly steps but omitted from the original materials list
The directions use red for the rose petals and green for the leaves and base. They do not specify yardage, so the amount needed will depend on yarn, tension, and how many flowers you make.
Size, gauge, and bouquet planning
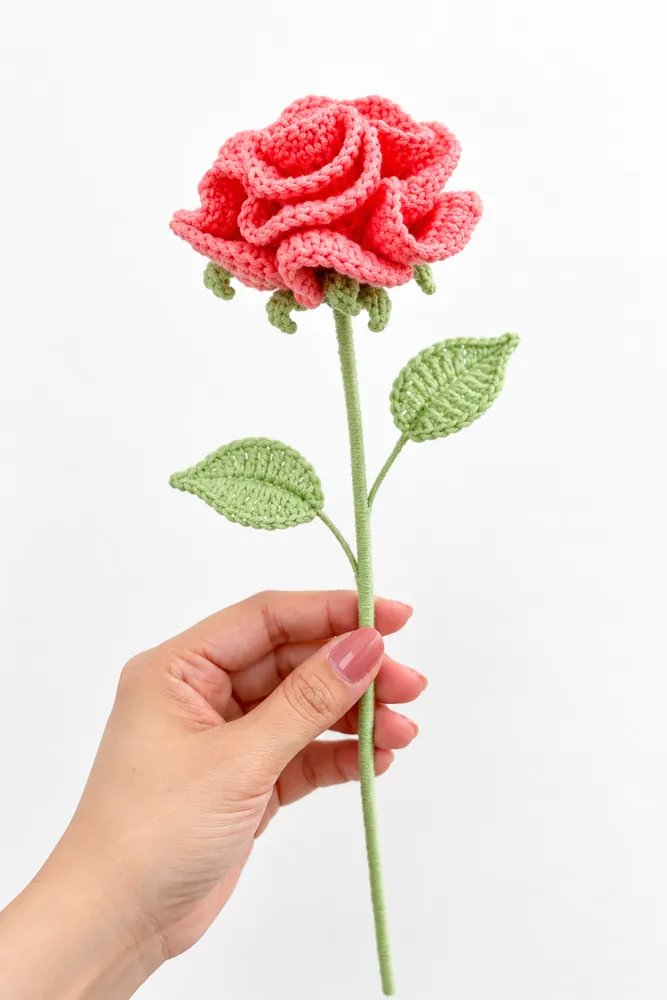
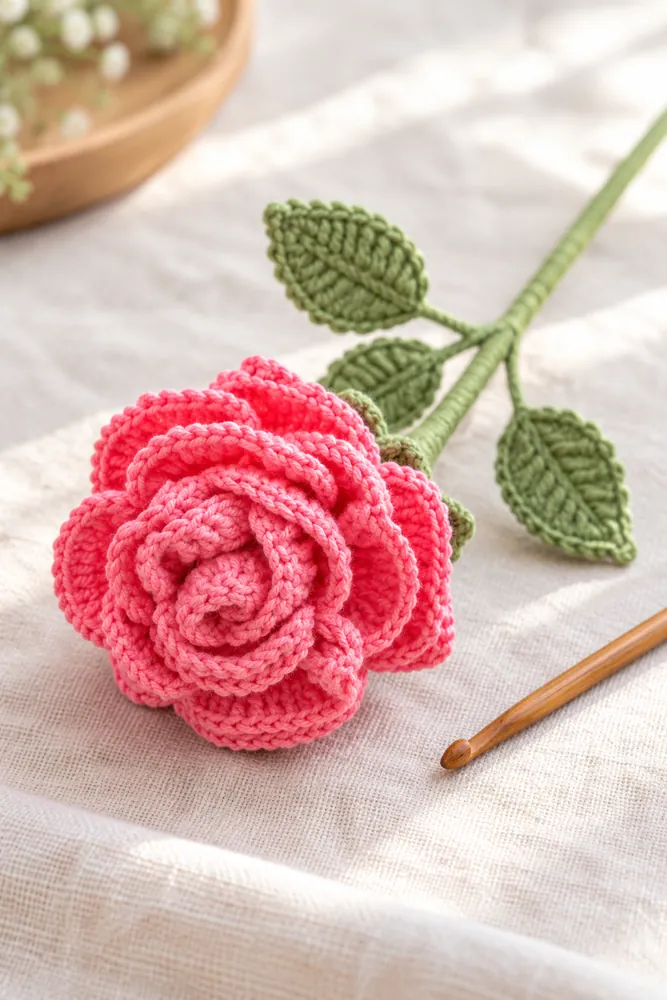
The pattern states that one finished rose stands 12.5 inches tall and that its bloom measures 3.1 inches across. It does not give a gauge, yarn quantity, or a measurement method. The listed 35 cm flower rod is longer than the stated finished height; the instructions do not say how much of the rod is trimmed, inserted, or left exposed. Treat the finished measurements as the stated estimates, not guaranteed dimensions.
For a larger arrangement, one note suggests making four roses and using 8–12 leaves in total. The separate leaf instructions say “Make 3,” so the number of leaves intended for a single flower is not consistent. Decide how many leaves to make only after resolving this discrepancy for your arrangement.
Abbreviations
| Abbreviation | Meaning |
|---|---|
| MR | Magic ring |
| ch | Chain |
| sl | Slip stitch |
| sc | Single crochet |
| hdc | Half double crochet |
| dc | Double crochet |
| tr | Treble crochet |
| dc inc | Double-crochet increase |
| pic | Open picot |
The pattern does not explain the exact construction of an “open picot.” Follow the method you normally use only if it matches the intended pattern, or seek clarification before working that edging.
Step 1: Crochet the petal strip
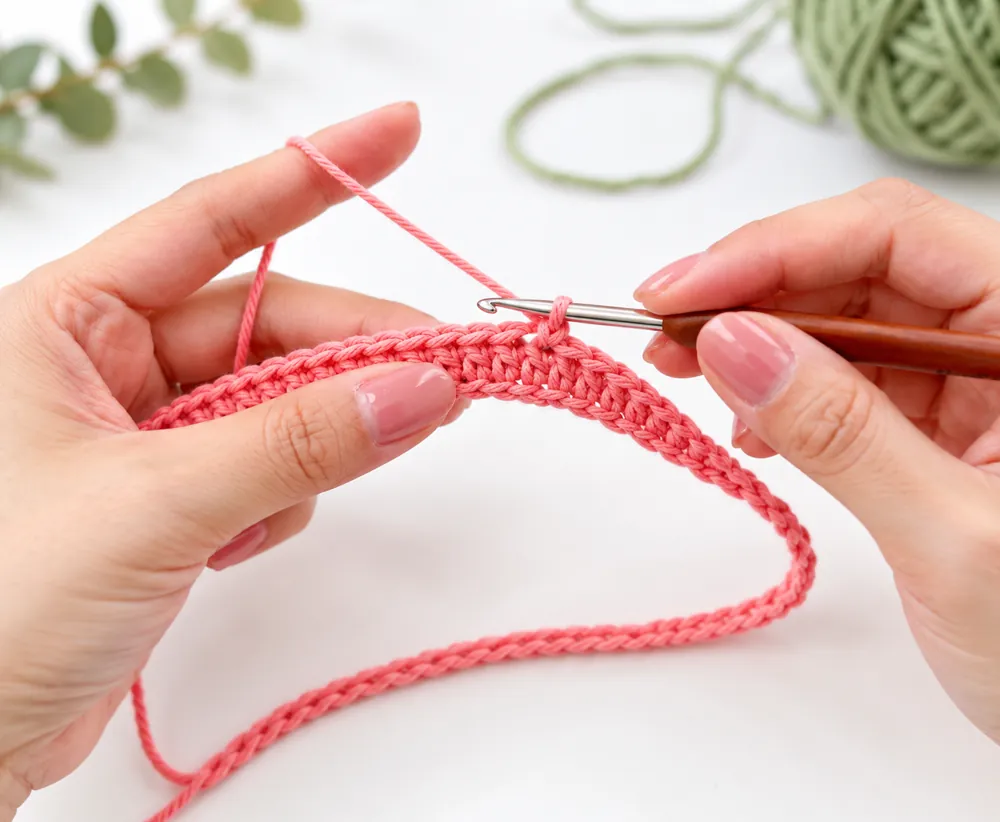
Make one petal piece in red yarn. The strip is worked in rows, then rolled into the rose bloom during assembly.
Petal R1
Chain 55.
Petal R2
Starting in the fourth chain from the hook, work 52 dc.
Petal R3
Ch 3 and turn. The pattern card gives this sequence:
[3 dc, sk 2], [4 dc, sk 2] twice, [5 dc, sk 2] 8 times, [6 dc, sk 2] 6 times, 6 dc.
The longer written directions place brackets around a larger repeated section, while the condensed instructions above place the repeats on separate groups. It is not clear whether the first groups are also meant to repeat eight times. Do not combine or repeat the groups based on a guess; confirm the intended repeat structure before working R3.
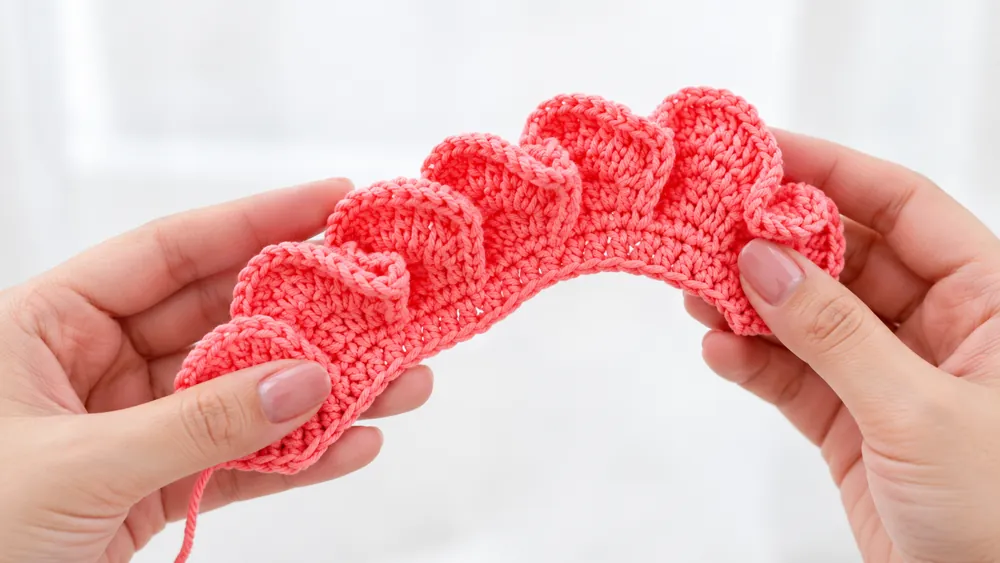
Petal R4
Use the following sequence with its groups and repeat counts as written:
- Ch 3, 5 dc inc, then
(dc, ch 3, sl); repeat this sequence 5 times. - Ch 3, 1 dc, 4 dc inc, then
(dc, ch 3, sl); repeat this sequence twice. - Ch 3, 4 dc inc, then
(dc, ch 3, sl); repeat this sequence twice. - Ch 3, 1 dc, 3 dc inc, then
(dc, ch 3, sl); repeat this sequence twice. (sc, hdc), 3 dc inc,(hdc, sc); repeat this sequence 4 times.(sc, hdc), 2 dc inc,(hdc, sc); repeat this sequence 3 times.
The pattern does not state exactly which stitches receive each increase or explain how the groups line up with the stitches from R3. Preserve the listed sequence, but pause for clarification if the stitch placement is not evident from the pattern visuals.
Petal R5
Work the groups in this order:
(ch 2, 8 dc, ch 2, sl); repeat 3 times.(ch 2, 10 dc, ch 2, sl); repeat 4 times.(ch 3, 2 dc, 5 dc inc, 2 dc, ch 3, sl); repeat twice.(ch 3, 2 dc, 6 dc inc, 2 dc, ch 3, sl); repeat twice.(ch 3, 2 dc, 7 dc inc, 2 dc, ch 3, sl); repeat twice.(ch 3, 2 dc, 8 dc inc, 2 dc, ch 3, sl); repeat 4 times.- Ch 3, 2 dc, 11 dc inc, 2 hdc inc at the side, 1 sc, sl. Fasten off and weave in the end.
The pattern does not give a stitch total for the completed strip or specify exactly where each increase is placed. Keep your work beside the written sequence and ask for clarification if the next placement cannot be identified.
Step 2: Make three leaves
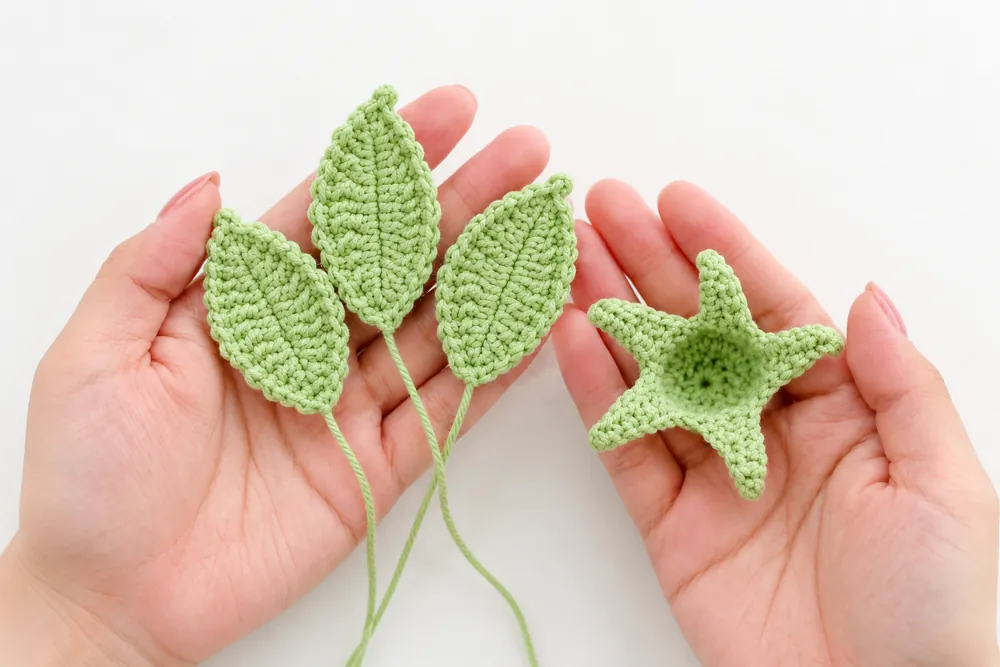
The leaf section says to make 3. Use green yarn.
Leaf R1
Ch 13. Starting in the second chain from the hook, work:
sc, hdc, 2 dc, 4 tr, 2 dc, hdc, 3 sc in the next stitch, hdc, 2 dc, 4 tr, 2 dc, hdc, sc, sl.
The sequence works along one side of the starting chain, places 3 sc in the next stitch at the turning point, then continues along the other side before joining with a slip stitch.
Leaf R2
Repeat (ch 1, sl) all around the leaf. Work sc, pic, sc, join with a slip stitch, then fasten off and weave in the ends.
The pattern does not identify the exact stitch location for the sc, pic, sc group. Check the accompanying visuals or obtain clarification before adding the picot if the placement is unclear.
Step 3: Crochet the flower base
Make one base in green yarn.
Base R1
Make a MR. Ch 3, work 10 dc into the ring, and join with a slip stitch.
Base R2
Ch 3, work 10 dc increases, and join with a slip stitch. The instructions do not state a final stitch count, so none is added here.
Base R3
Repeat the following sequence 5 times:
Ch 10, sl in the second ch from the hook, sc, 3 hdc, 3 dc, tr, sk 3, sl.
Fasten off and weave in the ends. The pattern does not explain which three stitches to skip or exactly where to place the final joining slip stitch in each repeat. Confirm the placement before continuing if it is not clear in the supplied visuals.
Step 4: Roll and secure the rose
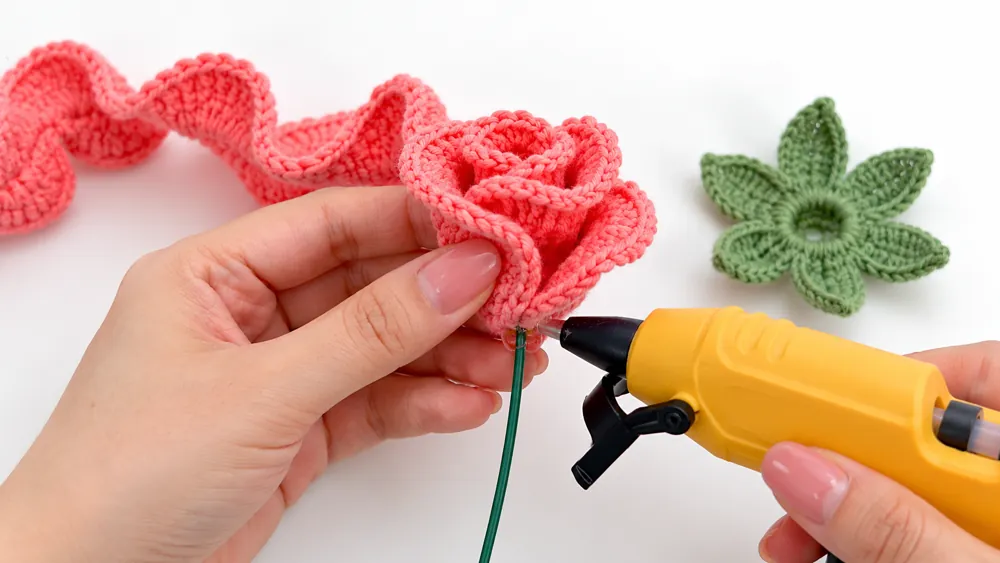
- Insert and secure the floral wire at the starting point of the first petal row.
- Roll the petal strip along its crochet direction, forming the rose as you go. The pattern says to glue the petals in place.
- Check the right and wrong sides of the petals while rolling.
- Keep the petal bases at a consistent height and adjust the position as needed.
- When all petals are assembled, attach and secure the flower base.
The pattern does not specify glue amounts or how the wire is anchored inside the first row. Use small amounts of adhesive as its assembly tip suggests, and keep hot adhesive away from skin.
Step 5: Attach leaves and finish the stem
Wrap floral tape around the stem base for about 10 centimeters. Add the leaves, then continue wrapping the tape down to the bottom of the stem. Apply adhesive to secure the end and shape the flower.
The pattern says to wrap tightly enough to conceal the wire and to shape the rose after assembly. It does not show a specific leaf spacing or give a placement measurement, so arrange the leaves to suit the stem while keeping the wire covered.
Finishing tips
- Keep yarn tension even so the petal strip and leaves hold their shape.
- Arrange the petals in a slightly overlapping spiral as you roll the strip.
- Check the right and wrong sides before gluing each section.
- Keep the bases of the petals level as the bloom grows.
- Apply hot melt adhesive carefully in small amounts, allowing each area to secure before moving on.
- Shape the finished flower gently after the stem and leaves are attached.
These tips reflect the supplied directions; they do not resolve the unclear stitch placement in R3–R5 or the flower base.
Common questions
How many leaves should I make?
The leaf instruction says to make 3. The bouquet note separately suggests 8–12 leaves for four roses. It does not say how the leaves should be divided among the roses, so the total needs clarification if you are following the bouquet suggestion.
What size will the finished rose be?
The pattern states 12.5 inches tall with a 3.1-inch bloom diameter. It does not provide gauge or a measurement method, so the finished size may vary with yarn and tension.
How much yarn do I need?
No yarn quantity or yardage is given. The pattern identifies 4-ply combed cotton and two color codes, but not the amount required.
Is this a beginner pattern?
The pattern details call it intermediate. It uses several shaping rows, increases, a picot, wire, hot melt adhesive, and multi-part assembly.
Is the pattern fully clear as written?
Not in every place. The repeat structure in petal R3, increase placement across the petal rows, several joining locations, and the suggested leaf totals need clarification. The article keeps those instructions visible rather than guessing at corrections.
Before you begin
- Gather the 2.3 mm hook, green and red 4-ply cotton, 35 cm No. 3 flower rod, 0.4 mm iron wire, stitch marker, scissors, hot melt adhesive, and floral tape.
- Remember that the pattern gives no yarn quantity or gauge.
- Confirm the repeated groups and stitch placements in the petal and base sections before working unclear instructions.
- Note the difference between “Make 3” leaves and the separate 8–12-leaf bouquet suggestion.
- Use care with wire and hot melt adhesive during assembly.